Legacy WebAR
- How to create Image-based AR campaign
- How to create Image-based AR with Video overlay
- How to create marker-based AR campaign
- How to create Eye Tracking AR campaign
- How to create location AR campaign
How to create Image-based AR campaign
What is Image-based AR
When an image is found by web app camera, AR content(s) appear on top of it or near it. The content can be a 3D model (static/animated), video, image gallery or even interactive buttons. If you are looking for a customized image-based AR web app, our team can help you to achive it. This is based on a combination of Three.js, A-Frame and Mind AR.
The engagement and entertainment rate are quite high for image-based Augmented Reality. Image-based AR experience is tied to your custom image. This means that you can use the target image in real world (banner, ad, leaflet, magazine etc.) or digital world (Facebook ads, Twitter, LinkedIn, Instagram, TikTok or anywhere). The AR experience will be displayed on top of the image and move along with the image as it moves around.
Use Cases: Product marketing, gamification experience, entertainment, augmented art, business card, ed-tech sector (books), magazine ads, flyers, any form of printed advertising etc. to bring the best AR experience for users. Imagination is the limit for image based AR.
Compatibility: It works on any phone with webgl and webrtc.
Step by Step Process to Create Image-based AR
Follow the below steps to build your first AR campaign within minutes. Go to the central dashboard (after you login, you land up here) and click on any of the buttons - Create AR Campaigns or Add New Campaign.
1. Provide a name for your campaign. Please remember not to use any space, underscore or special character within the campaign name (Read here for associated reasons).
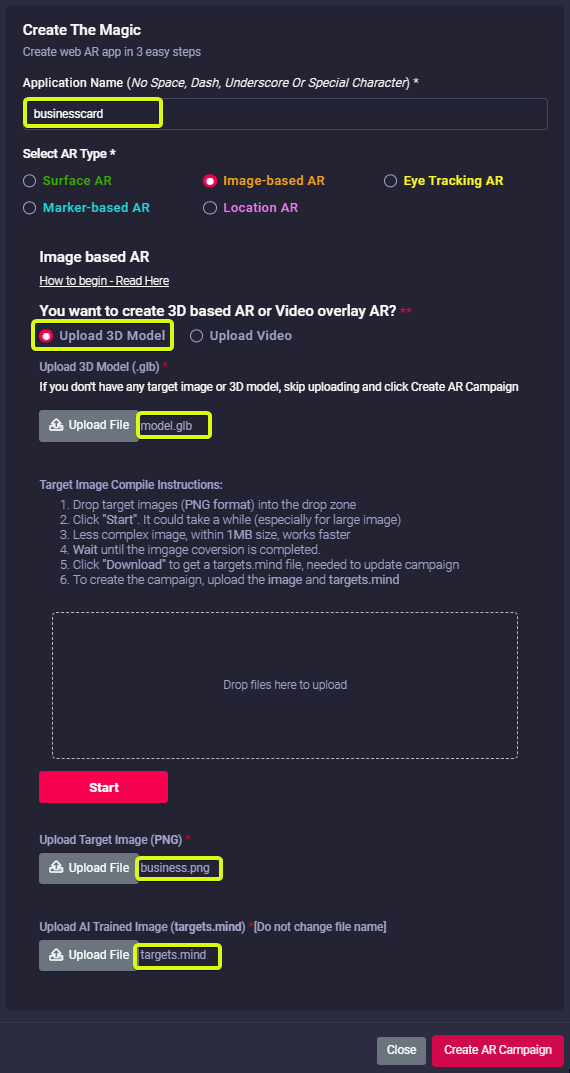
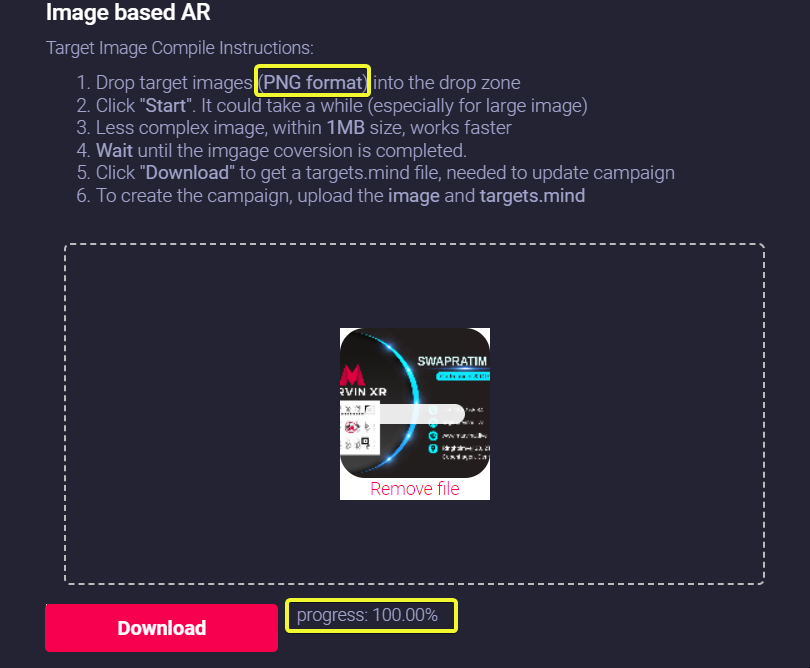
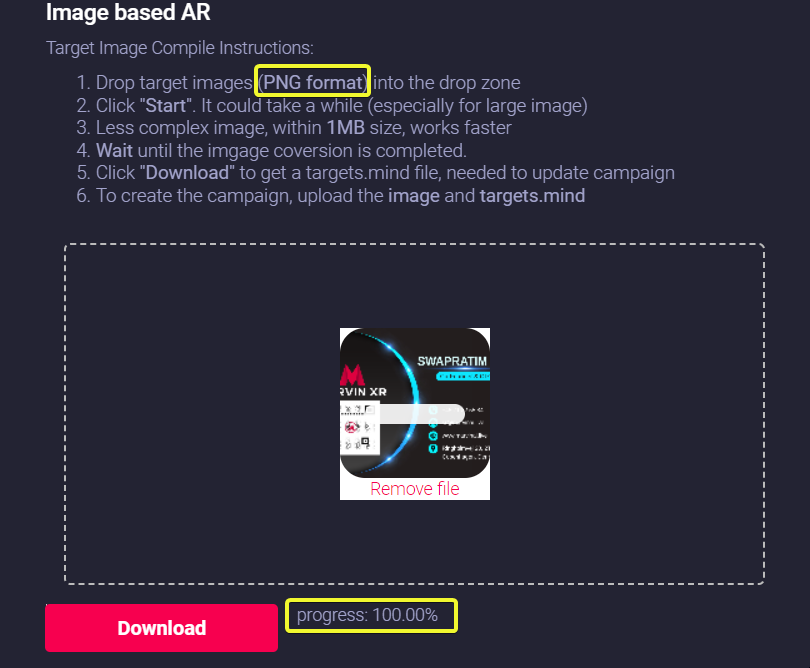
2. Drag your traget image (.PNG format) to the dropbox and click on Start button to create the camera identifiable format (targets.mind). Based on the size and the complexity of the image, it can take from few seconds to couple of minutes to complete this step.
Click Download button to download the AI generated camera recognition trained model (targets.mind).
|
Do not change the name of the file. Keep the trained model name as targets.mind |
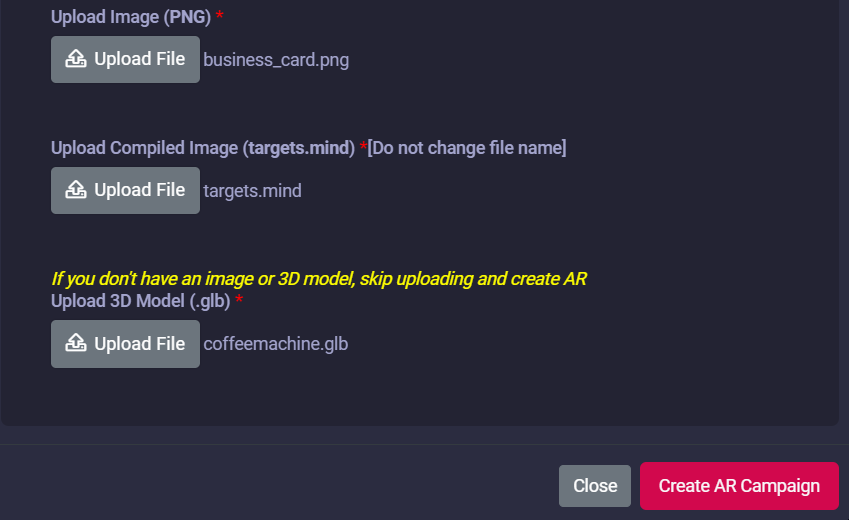
3. Now upload the following to the campaign:
- Target Image (PNG)
- AI trained model for camera recognition (targets.mind)
- 3D model (GLB)
If you don't have a 3D model, no worries - there's a default 3D model in the template (you can change it later anytime after the campaign creation).
Click on the Create AR Campaign button to finish the setup.
4. Your AR campaign can take up to 2 minute to get created. Read here for the associated reasns
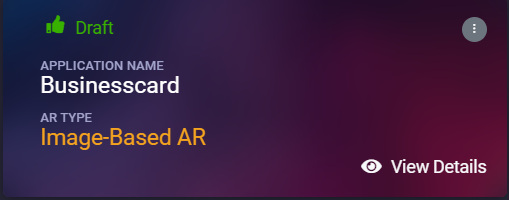
Congratulations! Now you have created your first image-based AR campaign. Enjoy the experience.
How to create Image-based AR with Video overlay
- Provide a name for your campaign. Please remember not to use any space, underscore or special character within the campaign name (Read here for associated reasons). Select Upload Video option.
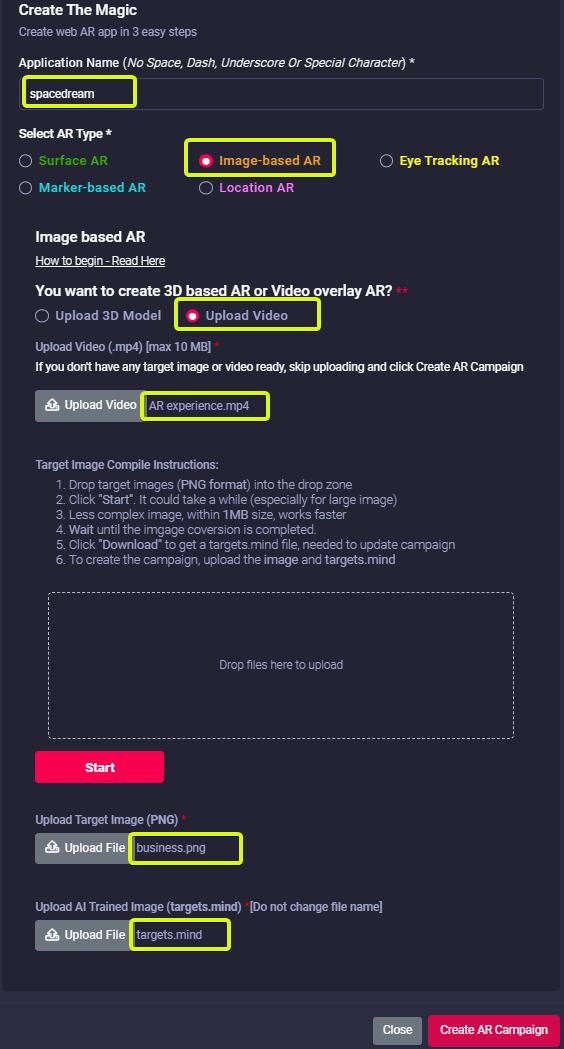
- Upload your preferred video (MP4) which should be displayed in AR view, against the target image. Please make sure your video is less than 2MB in size. This is set for optimal performance in audience's smartphone. Too big of a video can take much time to load in the browser.
If you don't have a video ready - we cover you. The default video will show up automatically.
Want to compress your video size? Use Free Convert to convert or compress your video online.
When you upload a new video, it'll automatically take a snapshot of the first second of the video as a screenshot and show it to the audience before they click on it to play.
-
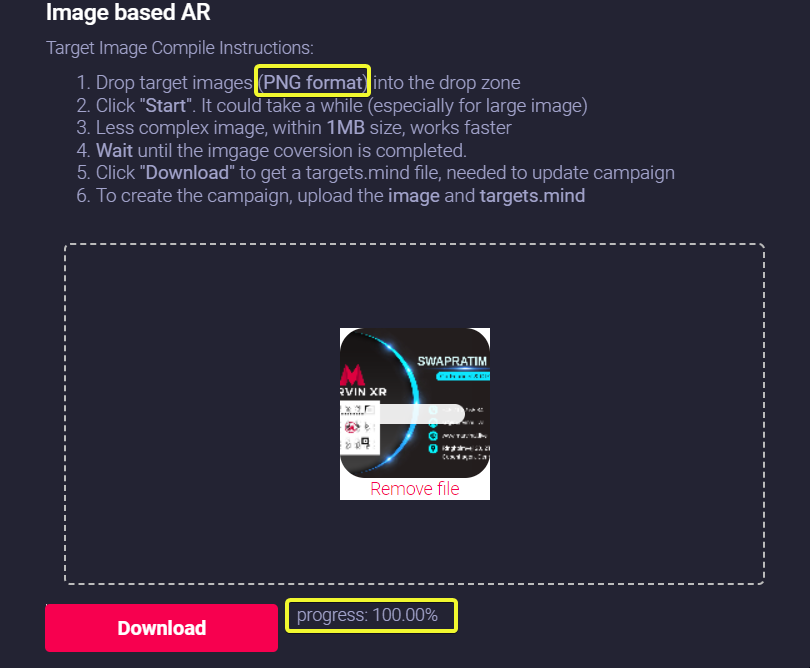
Drag your traget image (.PNG format) to the dropbox and click on Start button to create the camera identifiable format (targets.mind). Based on the size and the complexity of the image, it can take from few seconds to couple of minutes to complete this step.
Click Download button to download the AI generated camera recognition trained model (targets.mind).Do not change the name of the file. Keep the trained model name as targets.mind
-
Now upload the following to the campaign:
- Target Image (PNG)
- AI trained model for camera recognition (targets.mind)
When you upload a new image, the video will automatically resize itself according to the target image's height and width - isn't it cool!
- Target Image (PNG)
- Click on the Create AR Campaign button to finish the setup.
- Your AR campaign can take up to 2 minute to get created. Read here for the associated reasons.
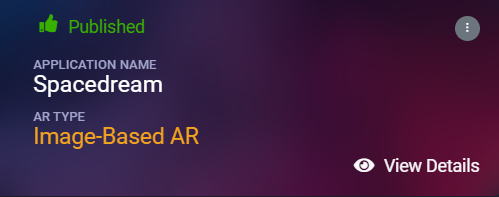

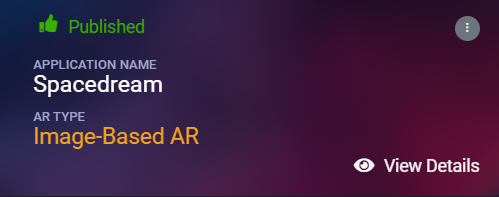
Congratulations! Now you have created your first image-based AR campaign with video. Enjoy the experience.
How to create marker-based AR campaign
What is Marker based AR?
Do you know that the fastest way of invoking WebAR experience is to use marker-based AR. The marker looks more or less like an advanced QR or barcode. When users focus their camra to the marker, the AR experience comes up.
When a marker is found by web app camera, it's possible to show some kind of AR content on top of it, or near it. The content can be a 3D model (static/animated) or an image or a mixture of text, image and HTML components (like buttons for CTAs). Marvin XR is using world's most popular marker-based web AR backbone - A-Frame.
There is another important factor of marker-based Augmented Reality. The marker-based AR experience is tied to the marker. This means that the placement of digital elements depends on the location of the marker. In most cases, the experience will display on top of the marker and move along with the marker as it is turned or rotated.
Use Cases: Augmented Art, learning (Augmented books), Augmented flyers, advertising etc. to bring the best AR experience for users.
Step by Step Guide to Create Marker based AR
Follow the below steps to build your first AR campaign within minutes. Go to the central dashboard (after you login, you land up here) and click on any of the buttons - Create AR Campaign or Add New Campaign.
1. Provide a name for your campaign.
Please remember not to use any space, underscore or special characters within the campaign name
(Read here the reasons).
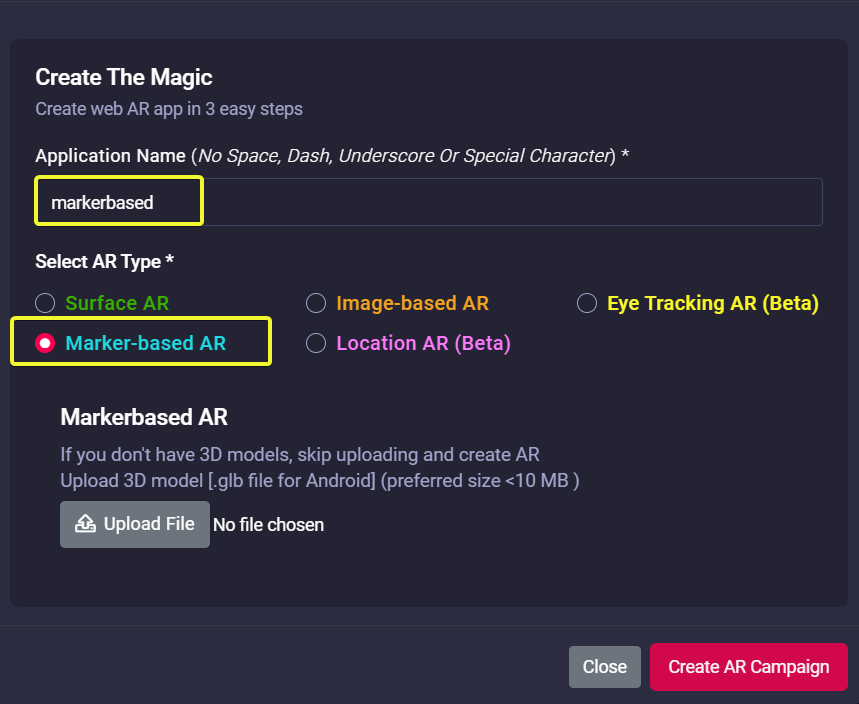
2. Upload 3D model (GLB) here.
If you don't have a 3D model, no worries - there's default 3D model in the template (you can change it at any time later).
Click on the Create AR Campaign button to finish the setup.
3. Open your campaign in your smartphone and focus on the marker. The AR will show up.

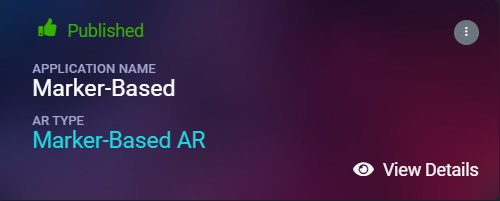
Congratulations! Now you have created your first marker-based AR campaign. Enjoy the experience.
How to create Eye Tracking AR campaign
What is Eye Tracking AR
Eye Tracking AR can work from both mobiles and desktops. Users can virtually try-on eyeglasses and sunglasses using our new eye tracking WebAR. This will help brands to create much higher user engagement from ecommerce platforms and help customers to make better decisions to purchase eyewear.
With the new eye tracking AR, now we have introduced easier way to import 3D assets for creators. You can now import GLTF folder (in zipped format) directly into the AR campaigns. Moreover, our new 3D configurator will help you to define position, rotation or scaling of 3D assets with single button click. You don't need to touch code from Web Editor anymore. This is a great step towards a true no-code WebAR platform.
Eye Tracking AR experience will definitely transform your e-commerce solution to grow business.
Follow the below steps to build your first AR campaign within minutes. Go to the central dashboard (after you login, you land up here) and click on any of the buttons - Create AR Campaign or Add New Campaign.
Step by Step Guide to Create Eye Tracking AR
1. Provide a name for your campaign. Please remember not to use any space, underscore or special characters within the campaign name (Read here for associated reasons).
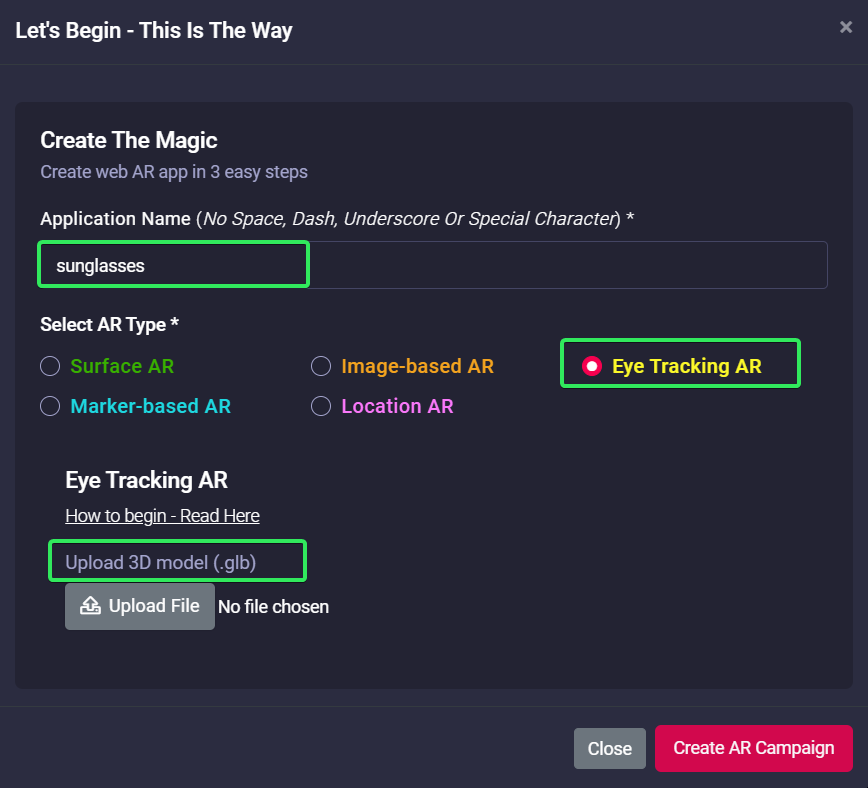
2. Upload 3D model (GLB) here. With eye-tracking AR, Marvin has introduced the GLB extension of 3D models for the campaign. Since GLB is quite popular and widely used across the industry, this will help the creators to work faster.
|
Upload 3D GLB model and click on Create AR Campaign button. |
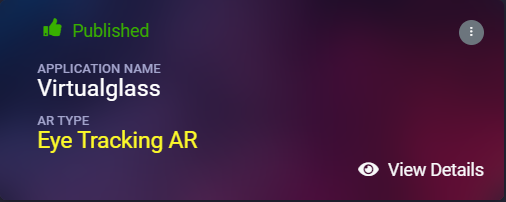
3. 3D Configurator is here to help your AR journey. Click on View Details and go to AR Show menu.
Resize the virtual eyewear size, position and scaling from the configurator and test online even from campaign editor. Since eye-tracking AR can be viewed from a desktop, setting its virtual position is quite easy.
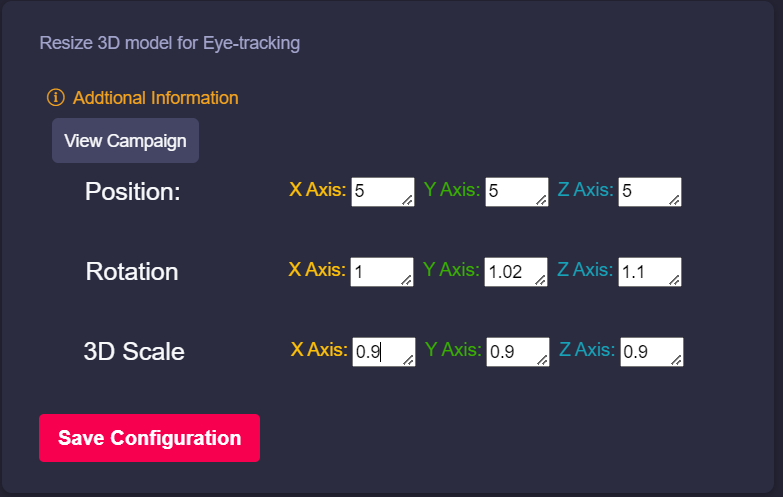
Congratulations! Now you have created your first eye-tracking AR campaign. Enjoy the experience.
4. If you have experience with HTML, to adjust the 3D eyewear scale, position and sizing, click on View Details of the AR campaign, go to Web Editor menu, Edit and change the below sections. Once saved, you can quickly test it online.
P.S. - All values for rotation, position and scale parameters are based on X, Y & Z axis (in the corresponding order).
Rotation: If the eyewear needs to rotate its position compared to eyes locations.
Position: Does the eyewear sit way above eyes or it needs a little lowering - positioning can fix it.
Scale: How big the eyewear should appear compared to the face size - fix it with scaling factor.

How to create location AR campaign
What is Location AR
Location-based AR is a powerful sub-form of a marker less AR system. Therefore, it doesn’t require any physical target or unique markers to execute the rendering of AR experience and identify where to put a virtual object in the user’s environment.
Location-based AR technology, in fact, uses GPS data and a digital compass to define the user’s device location and position. GPS is a system of 30+ navigation satellites circling Earth. We know where they are because they constantly send out signals. A GPS receiver in your phone listens for these signals (a.k.a three satellites at any point of time, any location point). Once the receiver calculates its distance from four or more GPS satellites, it can figure out where you are.
For example, location-based AR would be quite helpful to show outdoor augmented information to the users, who are moving around holding their phone, and then, when a place of interest is spotted, they can move physically near it and enjoy a marker-based in-place experience.
Step by Step Guide to Create Location based AR
Follow the below steps to build your first AR campaign within minutes. Go to the central dashboard (after you login, you land up here) and click on any of the buttons - Create AR Campaign or Add New Campaign.
1. Provide a name for your campaign.
Please remember not to use any space, underscore or special characters within the campaign name (Read here the reasons).
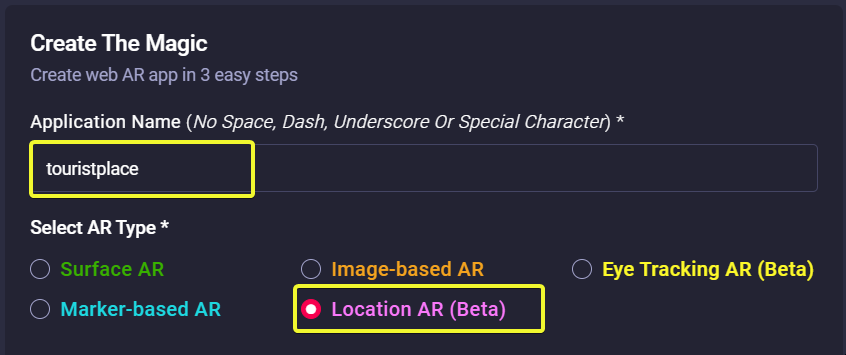
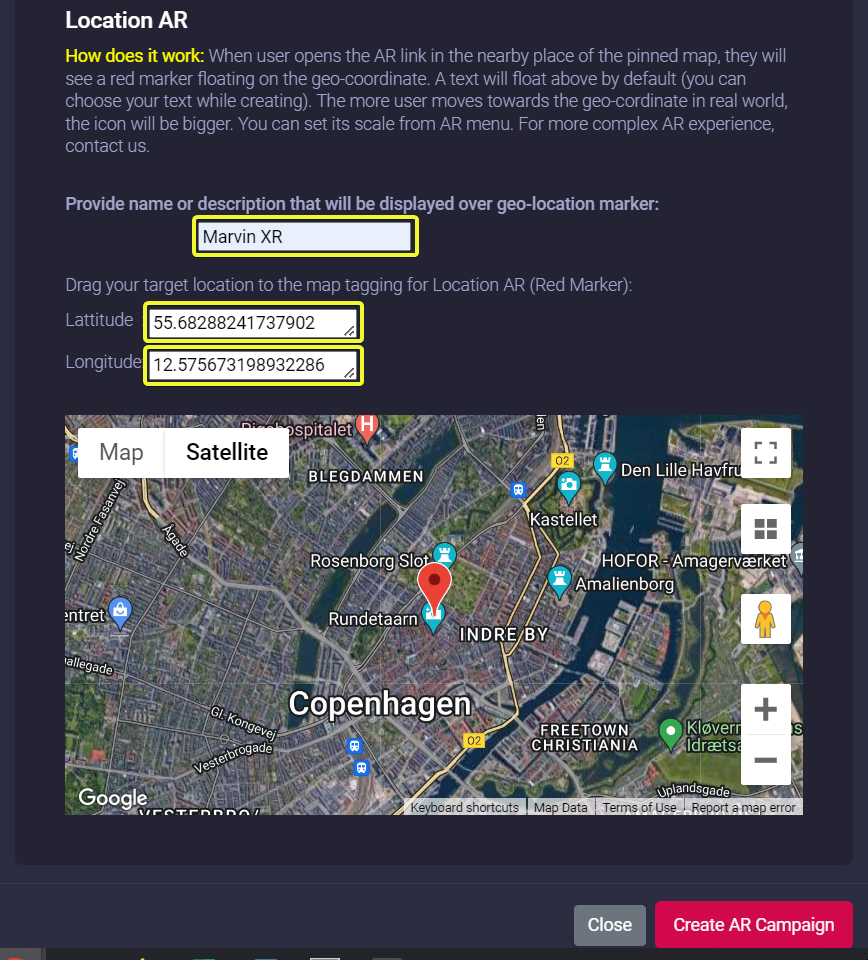
2. You need to create a marker which will be displayed over a certain geo-coordinate when users reach there. Marvin XR provides an option to make it more meaningful. Instead of just a red location dot, you can write a piece of text which will be visible to the users. This way, you can promote a certain brand, name, tagline, key phrase or many more.
|
Provide name or description in the next input field that will be displayed over geo-location |
3. Drag the google map to your desired location and place the Red Letter Pin on that specific coordinate. The lattitude and longitude will be automatically updated in the above text.
4. Click on the Create AR Campaign button to finish the setup.
Congratulations! Now you have created your first location-based AR campaign. Enjoy the experience.
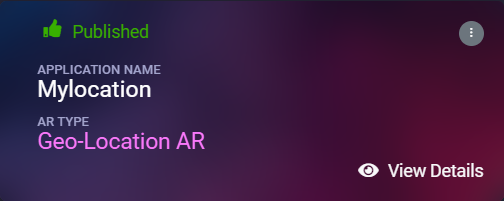
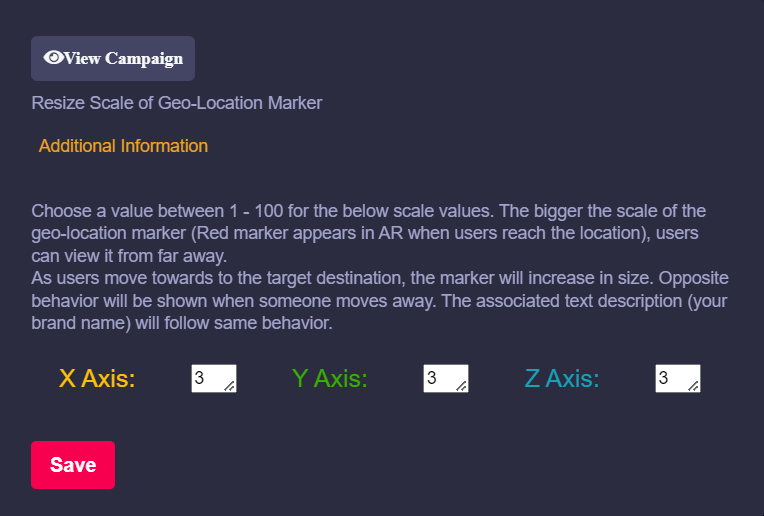
More config: The location AR text will be visible when you are almost close to 1000 meter from the pin pointed coordinate. The more you'll move towards the location, the bigger the marker-text will be. When you reach the target location, you can view the text in the correct sizing.