How to create Surface AR campaign
You are ready to build your first Surface AR campaign. Follow the below steps to build your first AR campaign within minutes. Go to the central dashboard (after you logi, you land up here) and click on any of the buttons - Create AR Campaign or Add New Campaign.
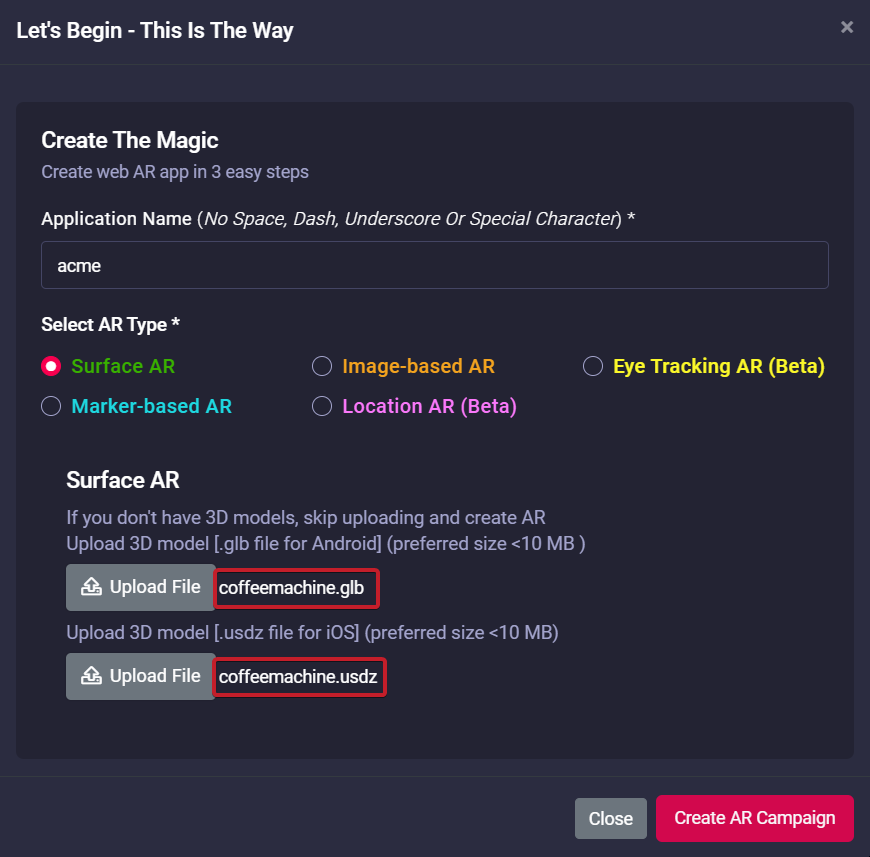
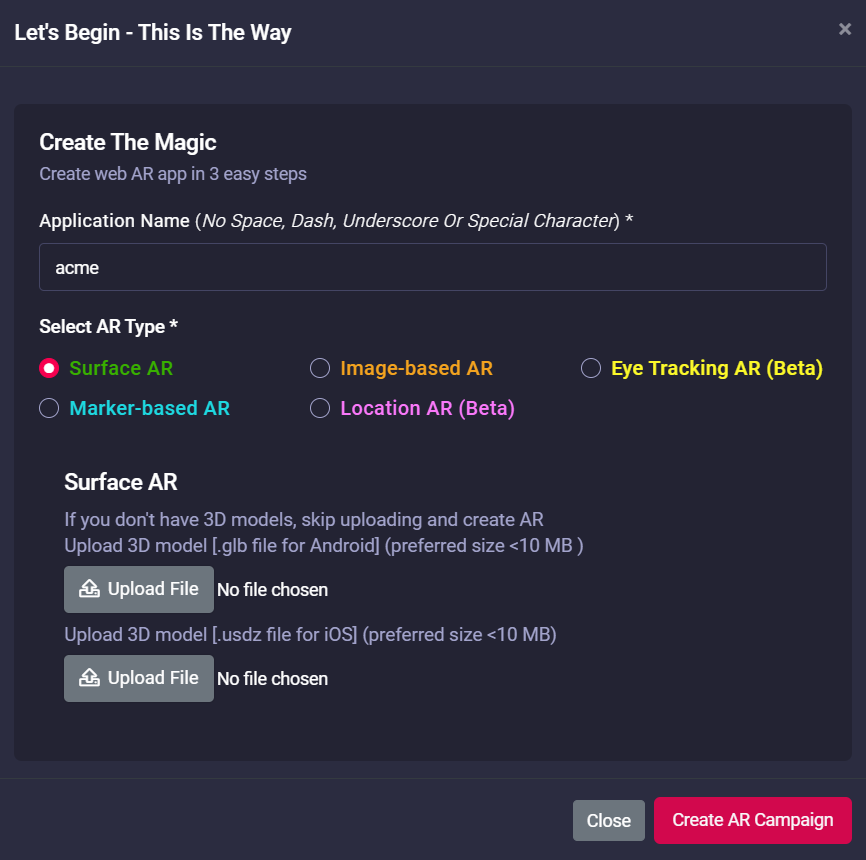
1. Provide a name for your campaign. Please remember not to use any space, dash, underscore or special character within the campaign name.
As a security first model, we provide a SSL certificate for each of your campaigns to safeguard it against any security vulnerabilities. Adding any unwanted character within the campaign name will stop the global certificate authority to approve the request to sponsor a SSL certificate (for trust based rules). This means you'll still be allowed to run the campaign with HTTP but not with HTTPS.
2. Upload your 3D model. For Surface AR only, you need to upload two different types of 3D models:
- For Android: GLB format
- For iOS: USDZ format
Both the 3D extension are extremely lighweight and most importantly comes as a single package.
If you have both types of 3D models, upload them and create the campaign.
If you only have GLB model - you can create a Surface AR campaign too. See below.

3. Once you hit the Create AR Campaign button, the campaign is generally ready within few seconds.
You can test it by trying http://<your_campaign>.marvinxr.com on any browser.
It'll open but without SSL security (no HTTPS).
If you want to run with https, you'll see the following error: 503 Service Temporarily Unavailable
|
New Surface AR campaign can take up to 2 minute to get started with SSL certificate |
The global certificate authority can take up to two minutes to discover your new campaign and assign a SSL certificate to it. So please wait up to two minutes to get your campaign ready with HTTPS enabled. After two minutes, if you try https://<your_campaign>.marvinxr.com - it'll work just fine.

