Web Editor
You are so happy to see your first WebAR campaign running live. Amazing feeling - isn't it? But now it needs an advanced setup - customizing your AR campaign. Web Editor is there for you to help.
Essentially WebAR is a HTML view with fairly straight forward contents inside. If you have never touched HTML, this might take a little learning (See the video: HTML Tutorial for Beginners |- HTML Inin 10 Minutes)
But if you have the very basic knowledge of how HTML works, then it'd be fairly a simple task for you.
Because simplicity is beautiful.beautiful -isn't it?
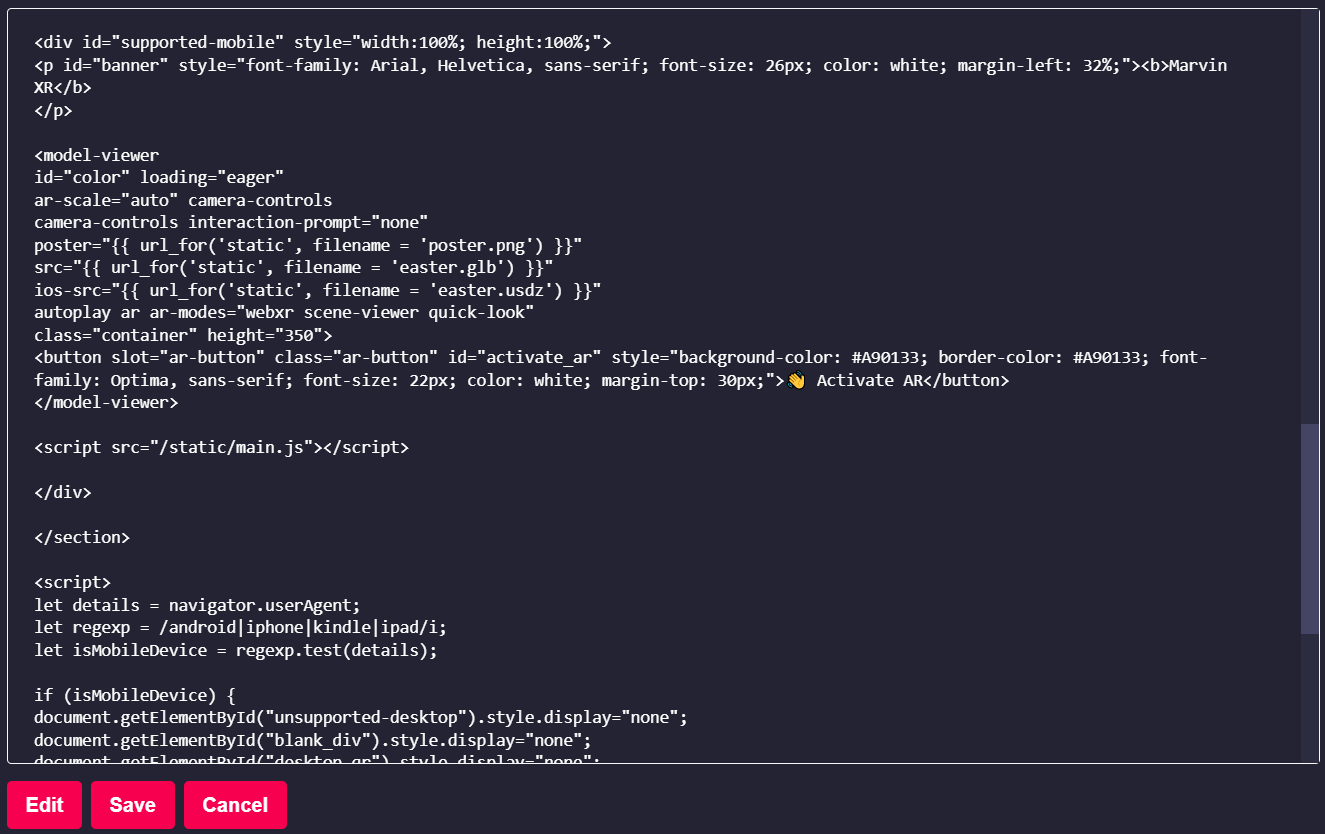
Click on View Details of the campaign and go to Web Editor menu.
Customizing a HTML UI (AR campaign view) can take many layers. To make it brand labeled, you can quickly
- Change Page Title (update <brand_name> tage)
- Change Header (add header css with your preferred brand name)
- Change Page Color (update body color css)
- Add Buttons (go below in the body section and add buttons there)
- Add Footer (add it after body tag)
- Update Custom Tags (add css, js or other type-fonts)
You can update several AR features directly from the Web Editor. There will be more help articles on that.
Refresh your AR campaign URL to view the changes immediately.
|
Change HTML view of your AR campaign using Web Editor |

