Web Editor
You are so happy to see your first WebAR campaign running live. Amazing feeling - isn't it? But now it needs an advanced setup - customizing your AR campaign. Web Editor is there for you to help.
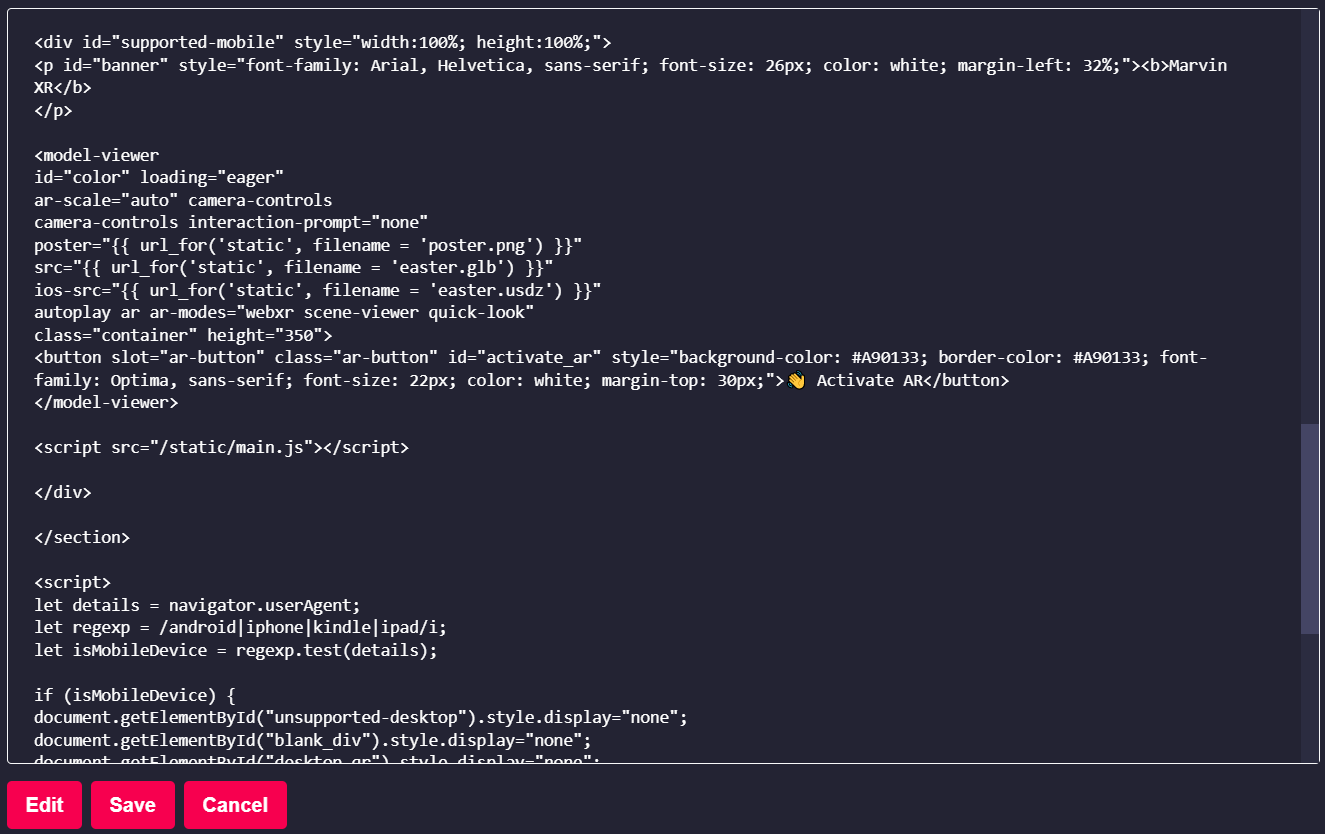
Essentially WebAR is a HTML view with fairly straight forward contents inside. If you have never touched HTML, this might take a little learning (See the video: HTML Tutorial for Beginners - HTML in 10 Minutes)
But if you have the very basic knowledge of how HTML works, then it'd be fairly a simple task for you.
Because simplicity is beautiful -isn't it?
Click on View Details of the campaign and go to Web Editor menu.
Customizing a HTML UI (AR campaign view) can take many layers. To make it brand labeled, you can quickly
- Change Page Title (update <brand_name> tage)
- Change Header (add header css with your preferred brand name)
- Change Page Color (update body color css)
- Add Buttons (go below in the body section and add buttons there)
- Add Footer (add it after body tag)
- Update Custom Tags (add css, js or other type-fonts)
You can update several AR features directly from the Web Editor. There will be more help articles on that.
Click on Edit menu, perform your changes and click Save.
Refresh your AR campaign URL to view the changes immediately.
|
Change HTML view of your AR campaign using Web Editor |
No Comments