Custom Domain Mapping
What is Custom Domain Mapping?
Custom domain mapping refers to the process of allowing customers to use their own domain names while accessing Marvin's WebAR campaigns.
In simpler terms, it can allow to offer you the ability to use a custom domain name (such as example.com) instead of the default domain name provided by the SaaS provider (such as example.marvinxr.com).
Benefits of using Custom Domain Mapping for WebAR Campaigns
- Professionalism: Custom domain mapping helps to establish a professional brand identity for your WebAR campaign. When customers use your product with your own domain name, it shows that you are serious about your business.
- Credibility: Having a custom domain name makes your product more credible and trustworthy. Customers are more likely to trust a product with a custom domain name than a product with a generic domain name.
- Branding: It allows you to use your own brand name in the product URL, which can help to reinforce your brand identity and increase brand awareness.
-
SEO: Improve your product's SEO by allowing you to use your own keywords in the URL. This can help your product rank higher in search engine results pages (SERPs).
- Flexibility: It provides greater flexibility if you want to use your own domain name with your product. This can be particularly useful for businesses that have multiple domains or want to use a specific domain for a specific product.
- Better User Experience: A custom domain name that matches a business’s name or brand is easier for customers to remember and identify. This results in a better user experience, as users can quickly find the product they are looking for and can easily return to it in the future.
How to add Custom Domain for WebAR Campaign
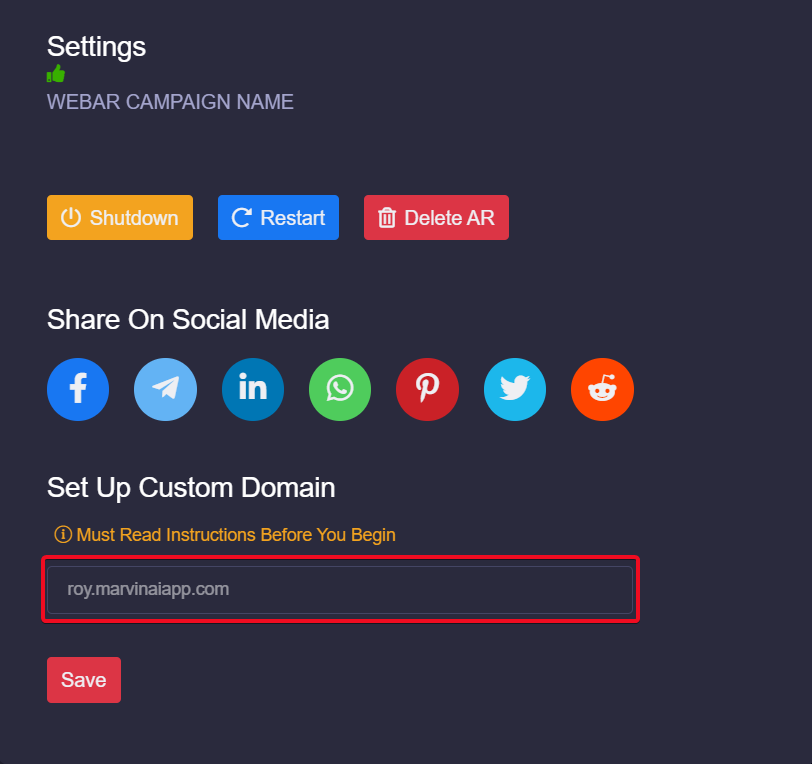
- Click on View Details of AR campaign and go to Settings menu.
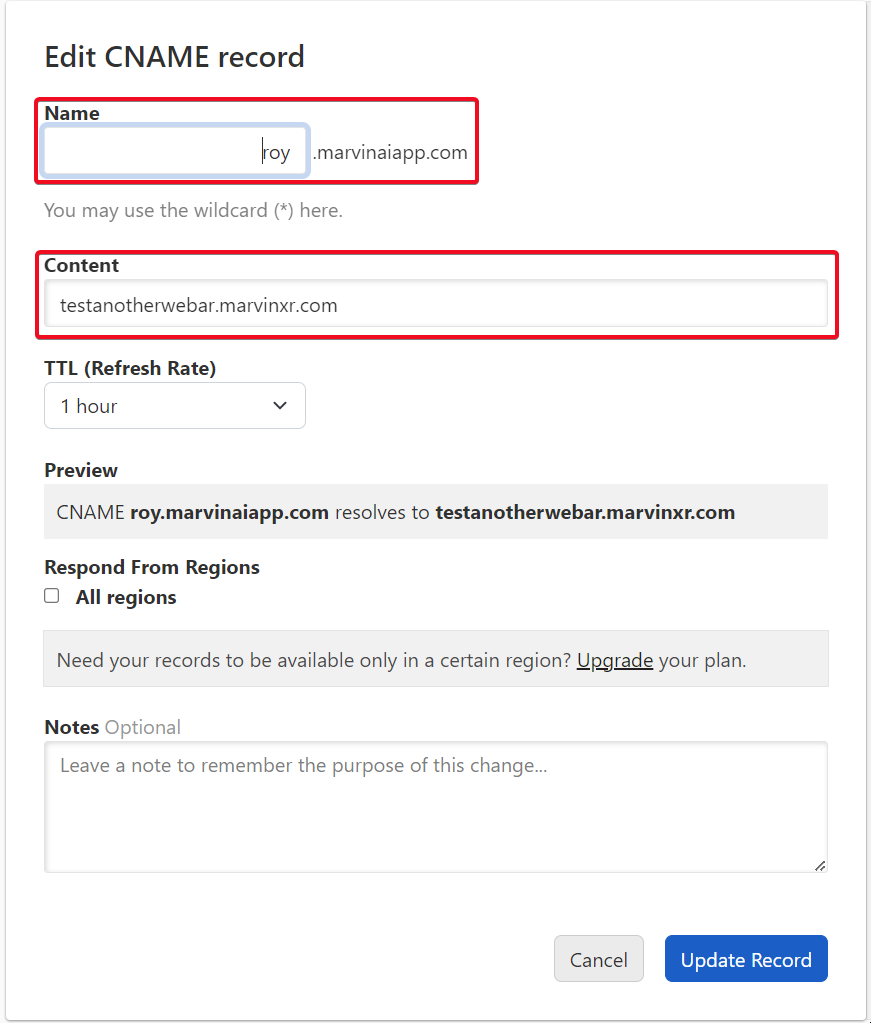
- Add new CNAME at your DNS provider and map Content with this campaign name
- Wait for 30min for DNS provider to propagate it across global DNS servers
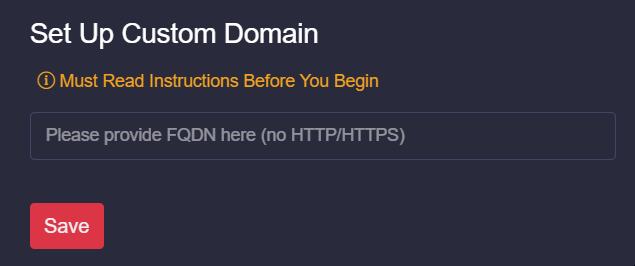
- Use same CNAME as an input here (without any HTTP/HTTPS)
- After saving the new custom domain address (DNS). Wait for up to 2 min to take effect.

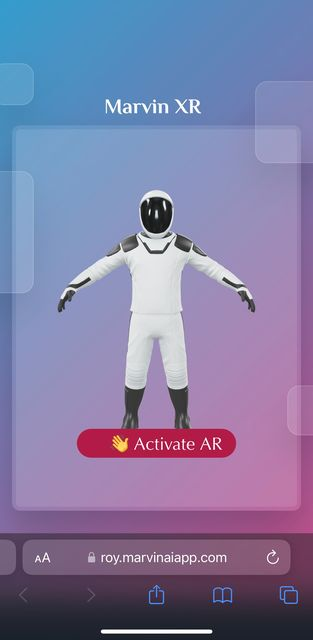
- Now try your new DNS address in browser with HTTPS


No Comments