AR Menu
Automatic QR Code generation

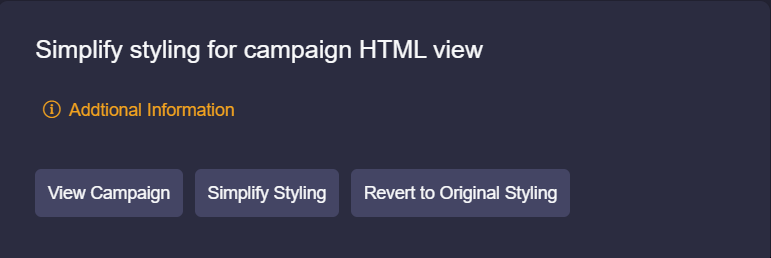
One-click HTML view change for Surface AR
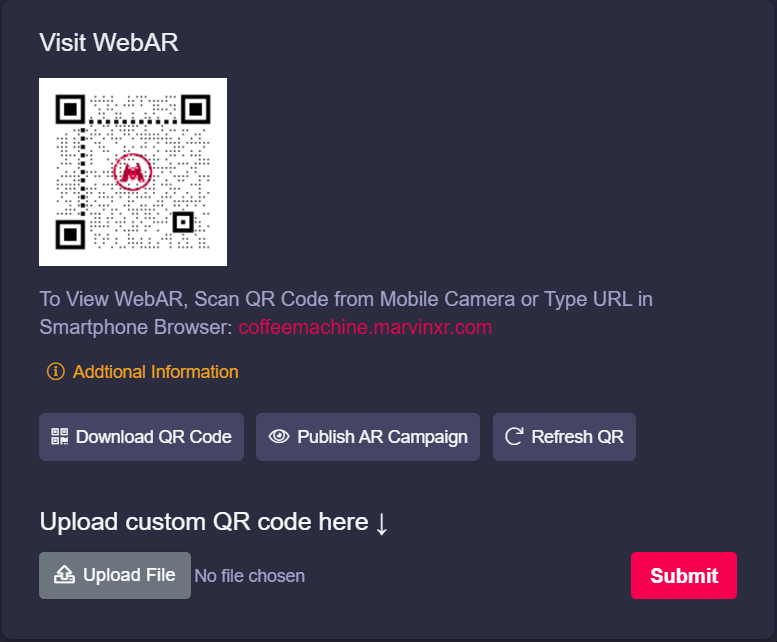
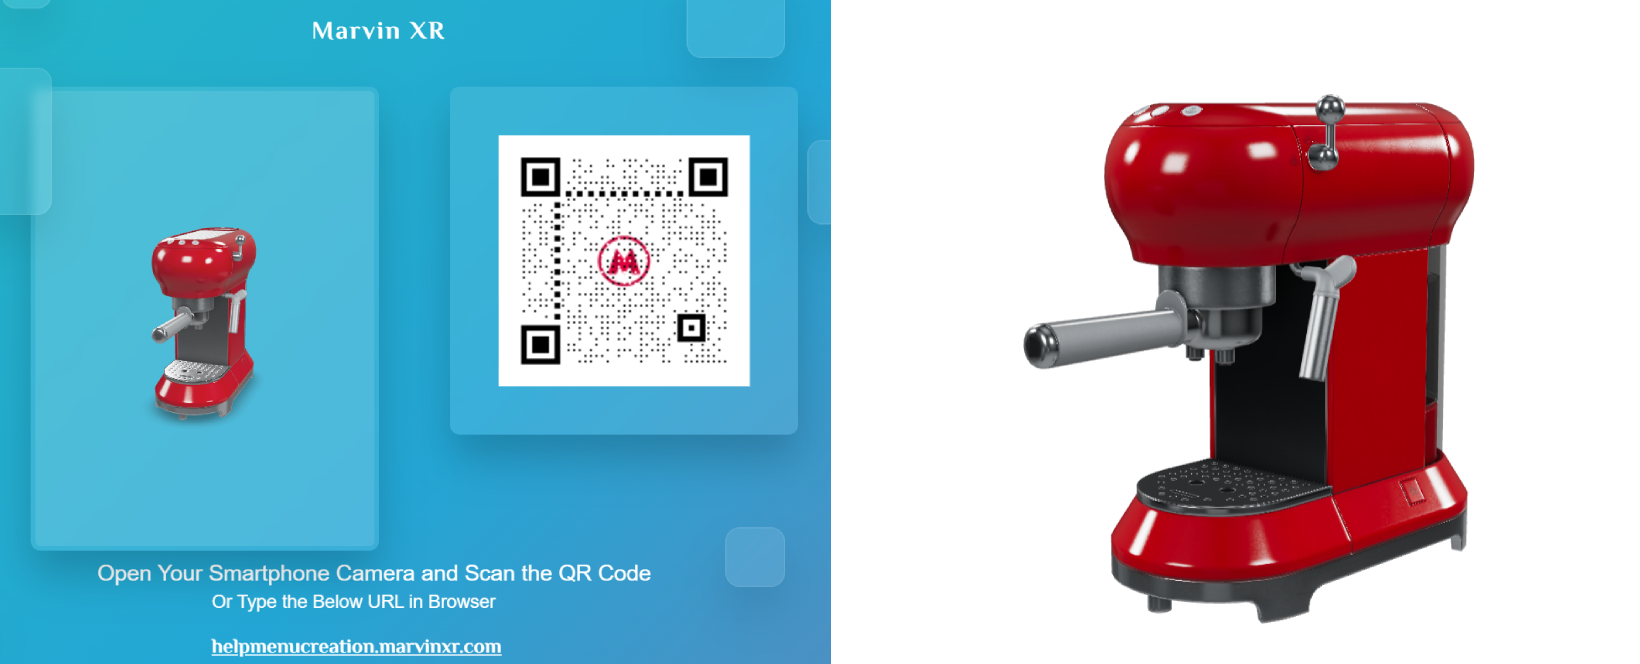
You can always view your campaign from AR Menu page. The default HTML view of the campaign has a unique design. When you open it from desktop, it'll show you the 3D model and the QR code (along with URL details) so that you can quickly test it from mobile scanning the QR from the screen.
Simplify Styling
Click on Simplify Styling would convert the campaign HTML user interface to minimalistic view immediately.
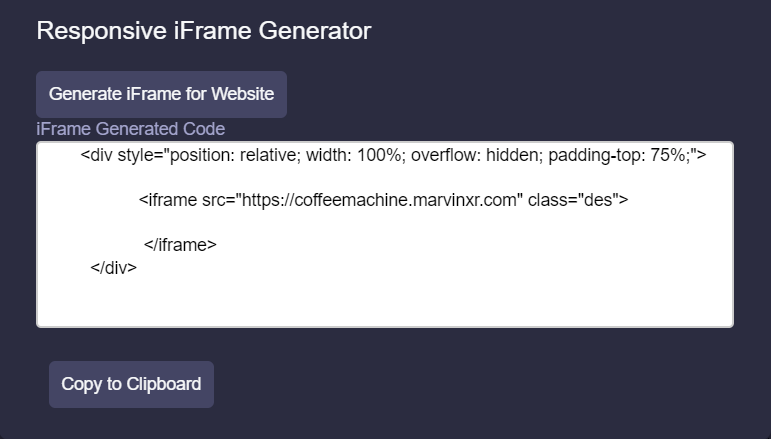
iFrame - integrate WebAR anywhere
It is crucial to embed the WebAR experience to websites, ecommerce stores or any digital platform. Marvin XR covers it with a single click.
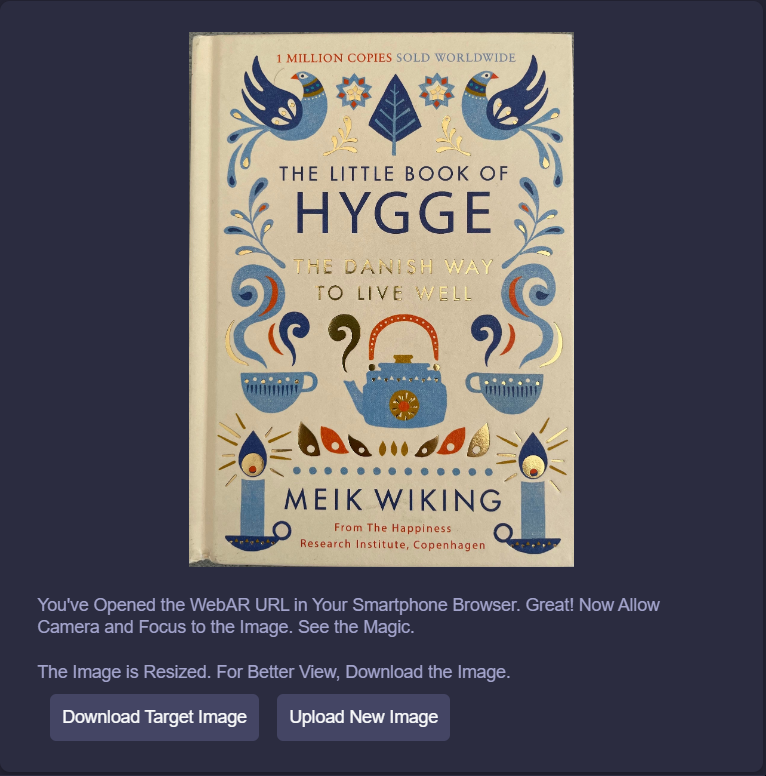
Campaign view for Image-based AR
When it's an image-based AR campaign clicking on View Details will present you different options.
Apart from QR section, the right side of the page will display the target image.
You can download the image to print it or embed it somewhere anytime.
If you want to change it, click on Upload New Image.
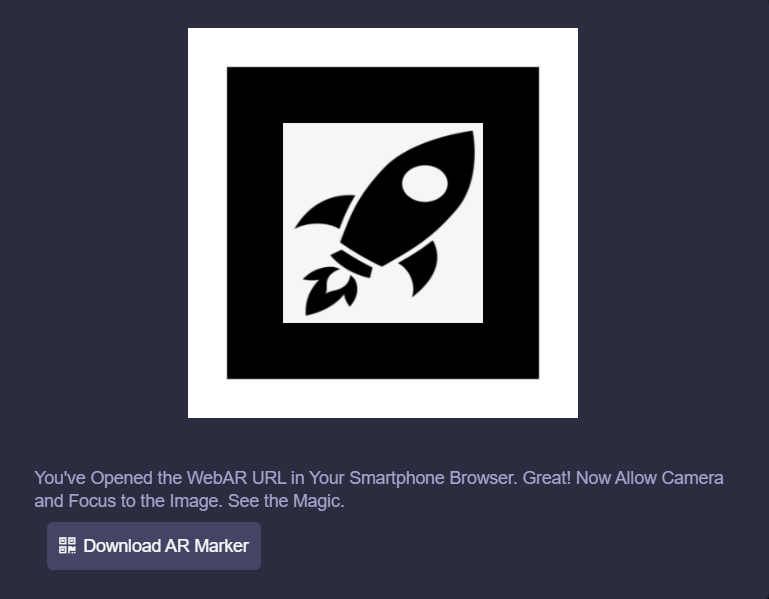
Campaign view for Marker-based AR
For marker-based AR campaig, the view will consist of the AR marker.
Focus AR camera view to the marker and AR will show up on top.
You can download the AR marker and print it i you want to use as a label somewhere.
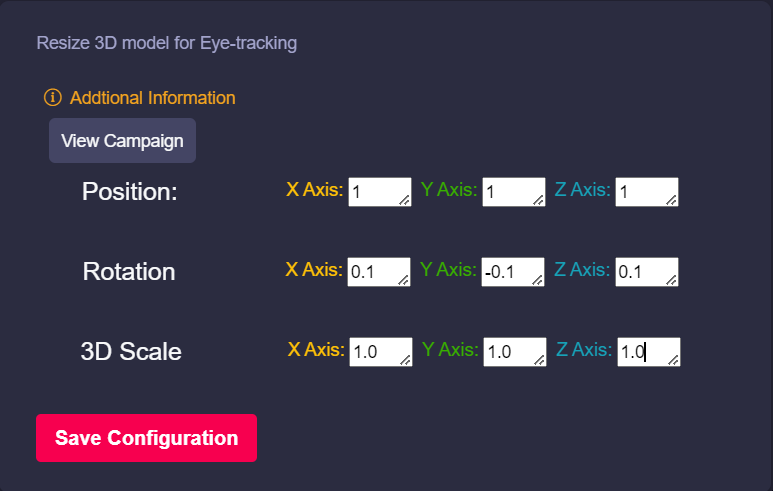
Campaign view for Eye-tracking AR
For eye tracking AR, you'll have access to 3D web configurator.
Resize the virtual eyewear size, position and scaling from the configurator from campaign editor.
Since eye-tracking AR can be viewed from a desktop, setting its virtual position is quite easy.
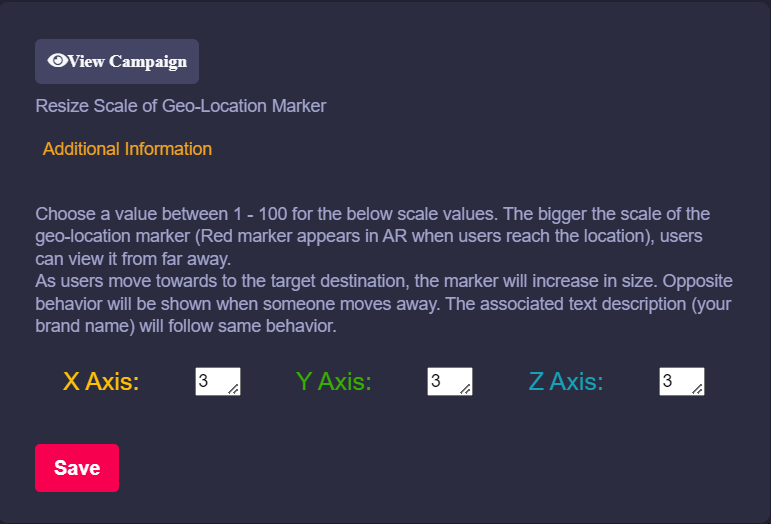
Campaign view for Location AR
For location AR, you'll have access to 3D web configurator.
Resize the marker text - how big or small it should look like when you reach the geo-coordinate.
1:1:1 - is a standard banner size to be displayed before the viewer within 10m from the target point.
Conclusion
To create and add quick touch of changes to your augmented reality campaign, AR menu can always bring some quick help for your team.
No Comments